9/29/14

Biking with Blue

It's been nearly three years since my brother decided to give me a Tasmanian devil for Christmas.  I kid.  But I do not kid.


Meet Blue.  The energizer bunny of dogs.  She can run circles around you.  And she will run circles around you.

And the couch.  And the neighborhood.  And so on and so forth.

As a little girl in my neighborhood stated the other day, pointing her finger at Blue who was doing what I can only describe as the "meerkat" at her - that one is active.  Yes, sweetie.  That's a very polite way of putting it.

I'd like to preface this with one statement - I do not run.  Which everybody says is good, right? Running puts stress on your joints and you should definitely walk.  Walking is the key.

I also hate walking.

I know, I know.  I'm a bum.  Sue me.

Judging me as you are, I also know that animals need exercise.  And Blue especially needs her exercise.  Because that kind of energy just turns into eating-your-shoes-and-other-possessions if it's not curbed.

I love riding my bike, so I thought - perfect! I'll take her with me.  Yeah.  That happened one time. I set out with her leash wrapped around one of my handlebars.  Blue saw a squirrel.  Blue attempted to chase said squirrel.  My handlebars went with her and off the bike I fell.

Well there went that genius idea.

Then I came across this contraption via the amazingness (yes, that's a word) that is Amazon:

This one is the Petego Cycleash, but there are other versions.
Skeptical? As was I.  But reviewer after reviewer kept saying that it was awesome.  I had my doubts about whether it could contain my particular brand of beast, but it was $40 so I thought it was worth a shot.

This device has CHANGED MY LIFE.


The bike bar connects directly under the seat and is adjustable.  The actual bar that extends out can be disconnected for when I want to ride without my dog.  The positioning is perfect - Blue can't go in front of or behind my wheels.  And the best part? Pull all she wants, Blue can't tip me over.  And that's not for lack of trying.


Note: you don't actually have to keep the leash on your dog while using this device.  I'm paranoid and just in case something were to snap off or break free - I have a back up containment unit.

Dogs get exercise/are too worn out to eat my things? Check.

I get my exercise so I can still fit into my things? Check.

When said squirrel has crossed our path again (I'm convinced that it is always the same squirrel - at this point he's taunting us), no matter how hard Blue attempts to leave me for squirrel domination, it just slows me down a bit.  The bike doesn't veer, and it most definitely doesn't fall over.

It has been a wonderful tool for exercising my dog - now dogs, though Lexi isn't really quite sure about the bicycle yet.  She's giving it her best shot, though.


My dogs only weigh 40 and 50 pounds, but my mom was so impressed with this contraption that she bought one and uses it with her Husky mix.  And the sled dog hasn't pulled her over yet.


I could never keep up with Blue when she runs - even if I had the inclination to do so.  Now I don't have to.  It's a win-win for everybody.

Jordan

P.S. GO BIG BLUE!


Read More »

9/21/14

Mini More - Banana Pudding Cupcakes


I cannot cook.

I can't even make pasta correctly.  My cooking skills pretty much end at pizza assembly.  But I love to bake.  You would think that the two would be somewhat related - but I haven't found that to be the case.

I found this recipe for Banana Pudding Cupcakes from Confessions of a Cookbook Queen several years ago.  It definitely seemed like a winner - I love banana pudding.  I love cupcakes.  And any time I find a recipe for homemade frosting I get a tiny bit excited.  As in happy-dance-in-the-middle-of-my-kitchen excited.

It's the little things.

As you will deduce about me, I usually bake for functions.  I don't typically like baked goods sitting on my counter at home staring at me.  Bad things happen that way.  So I brought the Banana Pudding Cupcakes to work and people lost their minds.  I received emails praising the cupcakes as the best thing anyone had ever tasted.  Ever.  For every work function after that, there were demands for the banana cupcakes.

So I was grocery shopping at my local Target the other day when I came across these babies.


THESE EXIST?!?

So naturally I knew that I must make a mini version of the Banana Pudding Cupcakes.  Because the only thing better than dessert is miniature dessert.


PREP/DECO TIME: 30 minutes
BAKE TIME: 15 minutes
MAKES: roughly 75 mini cupcakes

INGREDIENTS
  • Box of mini vanilla wafers
  • French vanilla cake mix (plus ingredients listed on box)
  • Filling
    • Small box instant banana cream pudding
    • 1 3/4 cup cold milk
  • Frosting
    • 1 cup cold milk
    • Small box instant French vanilla pudding
    • 1/3 cup powdered sugar
    • 4 oz. whipped cream cheese
    • 8 oz. whipped topping (thawed)

WHIP IT UP
  1. First prepare the frosting (it takes an hour to firm in the fridge).  In a large bowl, whisk together milk, French vanilla pudding and powdered sugar until thick and smooth.
  2. Whisk in whipped cream cheese until blended.
  3. Fold in whipped topping, and place in refrigerator for an hour.
  4. Preheat oven to 350 degrees.  Line your mini cupcake pans with paper liners.
  5. Place a mini vanilla wafer in the bottom of each cupcake liner.
  6. Prepare cupcake batter as called for on box, and fill each mini liner 2/3 of the way full.
  7. Bake for 15 minutes or until an inserted toothpick comes out clean.
  8. Place mini cupcakes on a wire rack and let cool.
  9. While cupcakes are cooling, prepare the filling.  In a medium bowl, whisk together milk and banana pudding mix until thick (about 2 minutes).
  10. Place pudding in refrigerator to set until cupcakes are fully cooled.
  11. Once cupcakes have cooled, cut a small circle in the center of each cupcake and fill with banana pudding (see below for a trick to do this).
  12. Once frosting has firmed, pipe onto the top of each cupcake.
  13. In a plastic bag, crush up some mini vanilla wafers.  Sprinkle the top of each cupcake with vanilla wafer crumbles, and top with a mini vanilla wafer.
  14. Store any uneaten cupcakes in the refrigerator.  If you have any left.

After you've prepped the frosting, place the liners in the cupcake pan and place a mini vanilla wafer in the bottom of each liner.


Fill each liner with cupcake mix and bake for about 15 minutes.  Once the cupcakes have cooled, they need to be filled! A trick my lovely mother taught me? Use an apple corer.


Just insert the apple corer into the center of the cupcake.  Sometimes you might need to twist it.


And out pops your cupcake "core."


Fancy, right? Now just fill with the banana pudding.


And pop the core right back in its place.  Pipe on your frosting, sprinkle with vanilla wafer crumbles and top with a mini vanilla wafer.  Ta-da! You now have pudding filled mini cupcakes.  Your life may never be the same.


Stay tuned - I will be sharing recipes for many more of my favorite miniature desserts!


Jordan


Read More »

9/11/14

Papering the Walls

I'll admit it - sometimes I'm a tad bit afraid of color.

It's not that I don't like color.  I love color.  It's just that I can never guarantee that I will be staying in one location for an extended period of time.  I move about every two years - it's almost uncanny.

I'm constantly decorating around the idea that I'll be leaving soon and will probably regret painting the guest bathroom with something called "Chinchilla" when it comes time to sell.  (Side note: I actually love that color and will probably use it sometime soon.)

There are a few exceptions in my house, including my blue/turquoise guest bedroom.  I love how the walls in that room turned out.  But realistically - it's only that color because the guy I was living with at the time put his foot down and refused to allow me to paint one more room in the house another shade of tan.

So I am attempting to expand the color palette that I usually use.

And I have discovered something amazing - WALLPAPER.

Now to understand my aversion to wallpaper, you would have to revert back to the early 1990's when every inch of our house was covered in the floor-to-ceiling floral disaster that was the trend of the day.  I also spent many an hour using a spray bottle and scraper to remove said wallpaper.

So, needless to say, using it never occurred to me when I purchased a house of my own.

But wallpaper has come a long way.  The geometric prints and the fact that some of them are removable (yes, REMOVABLE!) have suddenly made wallpaper a viable option.

So to Houzz for inspiration I went.


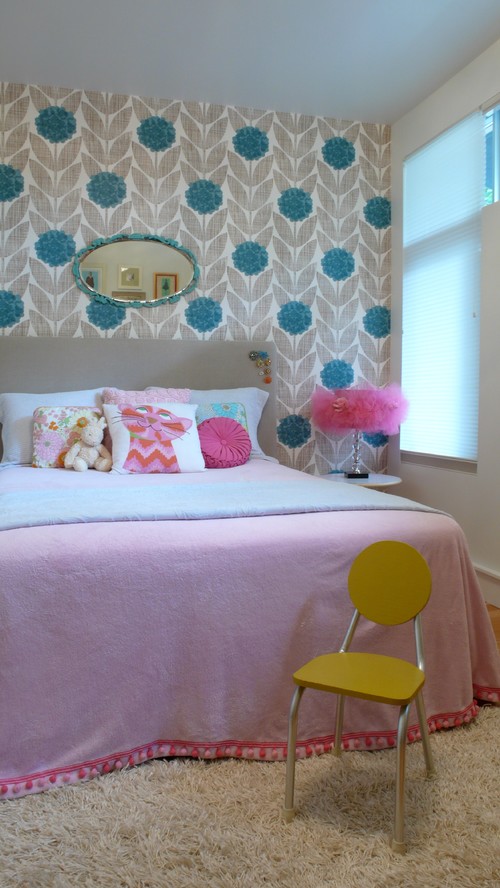
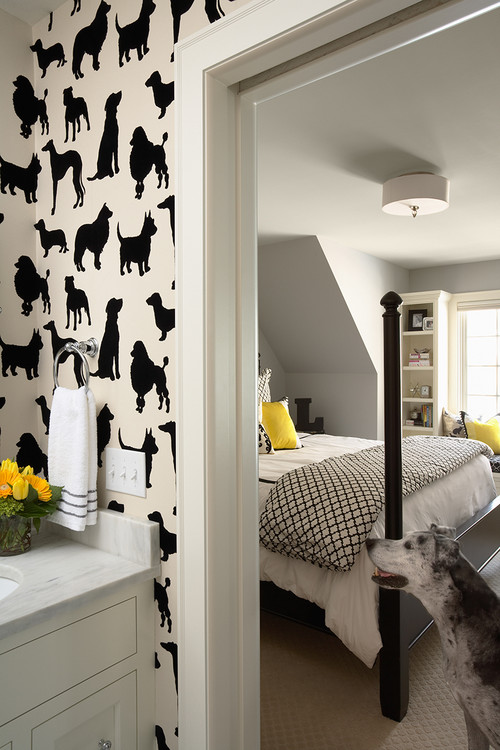
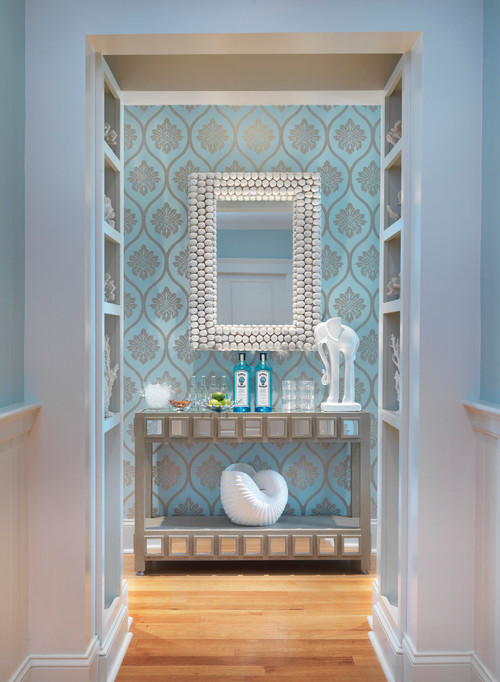
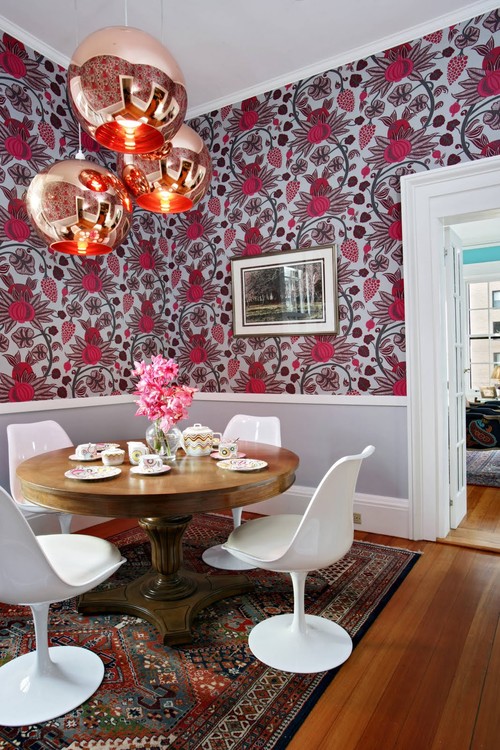
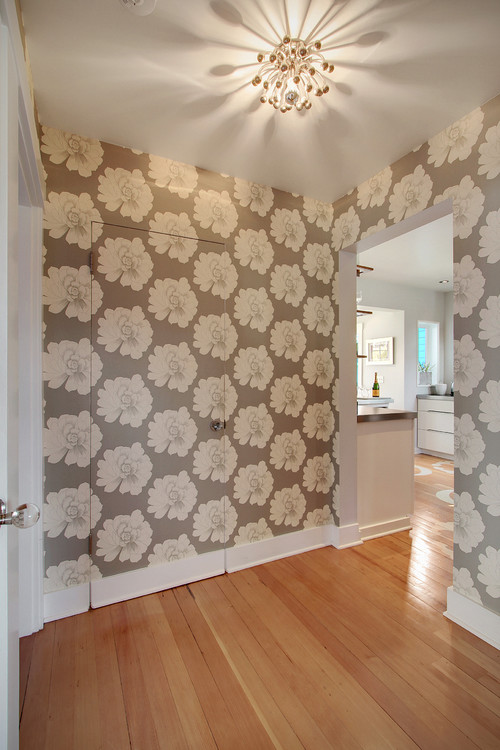
Stunning, right? And not at all grandma-esque.

And there are versions available that you can apply, remove and even machine wash.  Definitely a nice option for those of us who have pets that tend to splash and fling things on every available surface.

That's right, Lexi.  I'm looking at you.
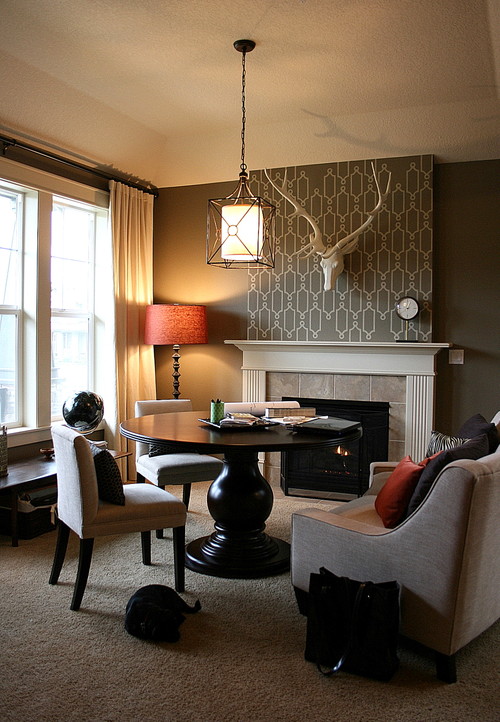
I like to start small.  And in my house I can really only think of one test area that is currently available - the wall surrounding my fireplace.  I originally wanted to put some type of stone from the floor to the ceiling, but that turns out to be suuuuuuper expensive and a bit out of my DIY area of expertise.  But wallpaper? That just might work.


Something like this.  Minus the gold painted deer head.  Because... just no.

Now wallpaper shopping I go! If/when I find something interesting, I'll be sure to let you know.

Jordan


Read More »